General
How to wash a car

No shade? No grit guard? Best to just donate a few dollars and wash the car yourself.
For the vast majority of car owners, care of their car’s finish amounts to little more than the occasional trip to the local drive-through car wash. True enthusiasts, however, see this as a sin of the highest order, as chemicals and methods designed to quickly strip a car of accumulated dirt and road grime aren’t necessarily designed to promote the longevity of a car’s paint finish. While modern car washes go to great lengths to ensure that damage to paint or vehicle doesn’t occur, a proper hand washing is a far gentler way to enhance your car’s appearance. It also ensures that minor issues such as paint chips, tree sap and bug strikes are dealt with before they become major expenses.
First, the car’s surface should be cool to the touch because washing a hot car can promote water spotting. Never wash a car immediately after it’s been driven, either, as cold water on hot surfaces (such as brake rotors) can cause uneven cooling and potential damage. Ensure that you have a shady spot to wash the car in, as direct sunlight can also promote water spotting and uneven drying. When in doubt, opt to wash your car in the morning or in the evening, before or after the sun is at its highest point in the sky.
Next, you’ll need some very specific equipment for a proper washing, including a bucket with a grit guard insert, a wash mitt (preferably made of sheepskin or microfiber), a hose of sufficient length to reach the entire vehicle, a nozzle with variable spray patterns, a dedicated wheel brush (or brushes, depending upon your wheel type), the wheel cleaner of your choice, the car wash soap of your choice and a synthetic chamois or a few waffle-weave cotton drying towels. When it comes to car wash soap, always use a product specifically formulated for this purpose, as dish detergents contain surfactants and other chemicals capable of stripping wax out of the paint’s surface. The same holds true with a wheel cleaner, which needs to be strong enough to lift accumulated brake dust, yet gentle enough not to etch a wheel’s surface. If you have expensive aftermarket wheels on your vehicle, always follow the manufacturer’s recommendations for care.
Once the equipment is assembled, start with the wheels and tires, following the recommendations on the wheel cleaner itself. Most advise users to wet the wheels with water first, spray on the cleaner and then scrub with an appropriate brush before rinsing the wheel (and brush) with plenty of water. Most wheel cleaners are mildly acidic, so the use of eye protection while scrubbing wheels is recommended; also, never use the car wash bucket to clean wheels, as brake dust itself can etch paint. It should go without saying that the wheel brush should never be used to clean the car’s painted surfaces, even after it’s been flushed with water.
When the wheels are clean, give the tires a quick scrubbing to remove surface dirt. Car wash soap can be used here, but be sure to use a separate bucket to avoid getting dirt and grit in the primary car washing bucket. Repeat the process for all four wheels and tires, making sure to flush each wheel and tire with plenty of water when done scrubbing.
Next, rinse the car wash bucket to remove any dust or dirt before inserting the grit guard tray (which keeps the wash mitt away from any sediment that settles to the bottom of the bucket) and adding the recommended amount of car wash solution. Rinse the wash mitt with clean water, then place it atop the grit guard and add the recommended amount of water to the bucket. With the nozzle set on an appropriate spray pattern (such as a vertical fan), rinse the car from top to bottom. In general, avoid directing high-pressure water at door and window seals, blinkers and trim, as getting water past these items can create problems down the line.
Starting with the roof and greenhouse (or windows, in non-carspeak), wash one segment of the car at a time; depending upon the size of the car, half the roof and greenhouse is likely as much as you can cover before the soap solution begins to dry on the car. Rinse the area washed, making sure the next area to be soaped up is still wet, then repeat this process using comparably sized segments of the car until the entire vehicle has been soaped and rinsed.
Now, remove the nozzle from the hose and flood the car with a steady stream of water. If your finish is in good health, doing so will cause much of the accumulated water droplets to rinse way, leaving the surface with minimal water to be dried. Shut off the water at the tap (or at the hose if you have an adapter with an on/off setting) and grab your drying towel (or towels). Starting with the roof, dry the top of the vehicle followed immediately by the glass (to avoid water spotting), then the vertical surfaces (which shed water quickly), then the horizontal surfaces. If a synthetic (or natural) chamois is used, be sure to squeeze it out when it becomes saturated; while the same holds true with a cotton drying towel, you’ll likely need more than one cotton drying towel to finish the average-sized vehicle.
Once the paint has been dried, move on to the wheels and tires. Using a separate synthetic chamois (or cotton towels), dry the wheels and tires, then follow up with the tire preservative of your choice. Now, examine the car’s finish for anything you may have missed during the wash process. If you skipped a panel, spray it with water, scrub it up, rinse it off and towel it dry. If you have bug strikes, tar or tree sap on the paint, break out the appropriate cleaner and take care of the affected areas, following up with a quick coat of wax on any panels treated with these heavy-duty cleaners.
A weekly hand washing will go a long way towards preserving the finish of your car, preventing expensive paint repair (or worse, a more expensive repaint) down the line. Consider the hour or so that a proper washing takes to be an investment in your car’s future, not to mention a good excuse to spend quality time with the object of your four-wheel affections.
Merry Christmas From Michael & Sonji Wilhelm

Nov 5, 2017 – Daylight Saving Time Ends
Sunday, November 5, 2017, 2:00:00 am clocks are turned backward 1 hour to
Sunday, November 5, 2017, 1:00:00 am local standard time instead.
Sunrise and sunset will be about 1 hour earlier on Nov 5, 2017 than the day before. There will be more light in the morning.
As soon as we start to see a steady temperature below 42 degrees in the morning we will start to change to our winter time of 9AM.
When the temps get bellow 42 degrees some of our chemicals, tools and us do not work properly. Thus we shift out opening times during the winter months.
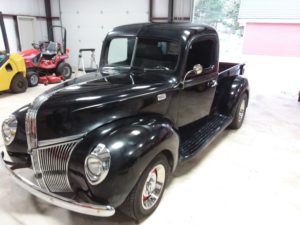
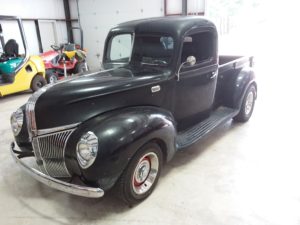
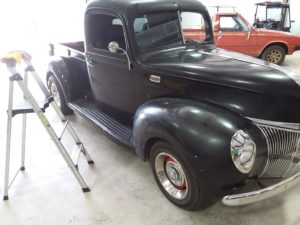
F100 buffed
Just got done paint corrected this 1952 ford F100. Now it has not been repainted in 40 years and is in need of a new paint job but the owner wanted to bring some life back in to its paint keeping it as original as possible.
These are the before pictures. However I did start to clean the truck.
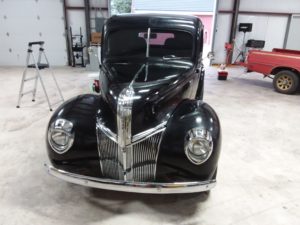
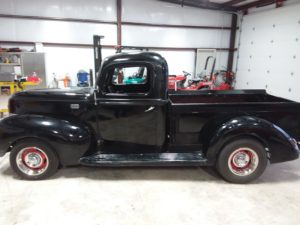
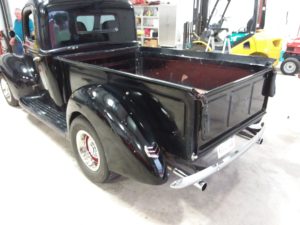
Before

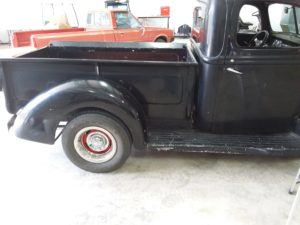
After
This is no means perfect but 10 times better. The only way to fix this completely would be to repaint.